

Making homemade Hummus from canned garbanzo beans is an easy and quick way to get consistent and fast results, but once you go home-cooked beans, you can’t go back.
The process is longer, but well worth the effort.
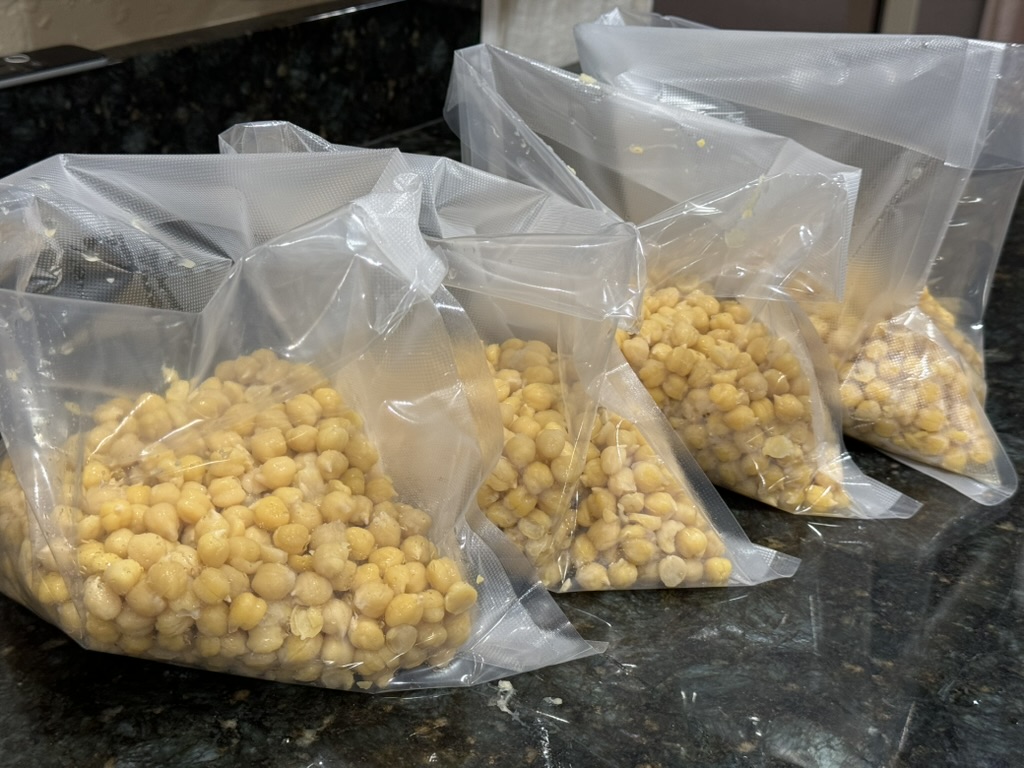
And the good news, these cooked beans are great even when frozen and used later, so you can make larger batches, and freeze them in vacuum bags.
Recipe
Makes: 3-4 batches of about 2lb (950g) each
Overall time: 24-48 hrs; Active prep time: 1.5-2 hrs.
Note: Garbanzo and Chickpeas are two names of the same exact bean (at least to the best of my research 😂). What’s important is to get the tiniest beans you can get your hands on; the smaller the size, the better and less bitter your Hummus will taste.
In this recipe, when I write beans, I refer to the garbanzo/chickpea beans.
Ingredients
- 3 cups (~750g / 1.6lb) of dry beans
- Baking soda (1/2 tsp)
- water (as needed)
- 1/4-1/2 White Onion – optional
- Plastic (or other non-metal) bowl
- Large cooking pot (or a pressure cooker)

Instructions
The day before (about 24-36 hrs ahead of cooking)
- Inspect your beans for any bad beans, little stones, or any other non-bean artifacts (some vendors are better than others in cleaning up)
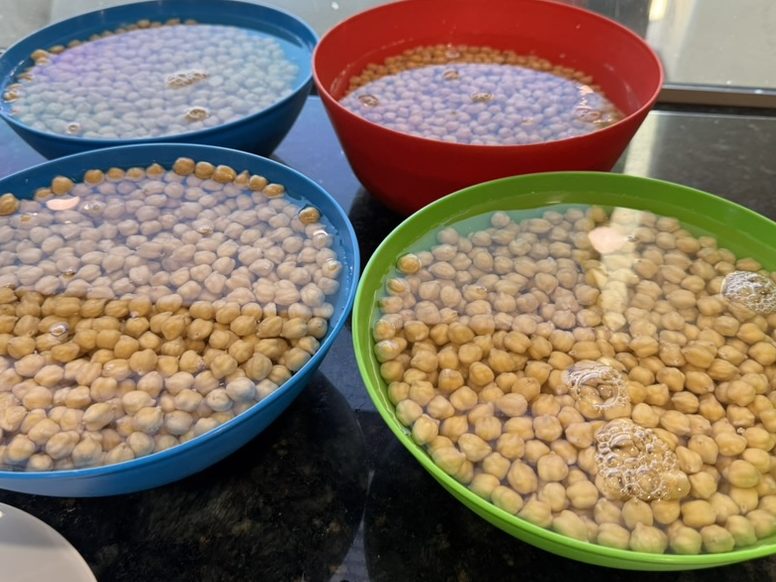
- Soak the dry beans in fresh water (at least 1 inch over the beans) in a plastic bowl and mix with the 1/4 tbsp baking soda (this will help the beans soften better later on)
- Let it sit for 12-24 hours, replacing the water at least twice during that time.
- There is no need to re-add baking soda each time.
- Remember that the beans will double in size, so you will need a large enough bowl
- Use plastic (or glass) bowls. Metal bowls will interact with the chemicals, potentially ruining your container and breaking your beans.
On cooking day
- After at least 12 hours, but not more than ~48 hours, rinse the beans one last time, and
- Tip: Some people let the beans sprout and are covered by a damp towel or paper for some time. The claim is that it enhances the overall flavor and helps reduce the amount of gas passed after eating the Hummus later on. However, swapping the water enough times should provide a good enough alternative.
- Choose your method of cooking: “Regular Cooking”, or using a “Pressure Cooker”.
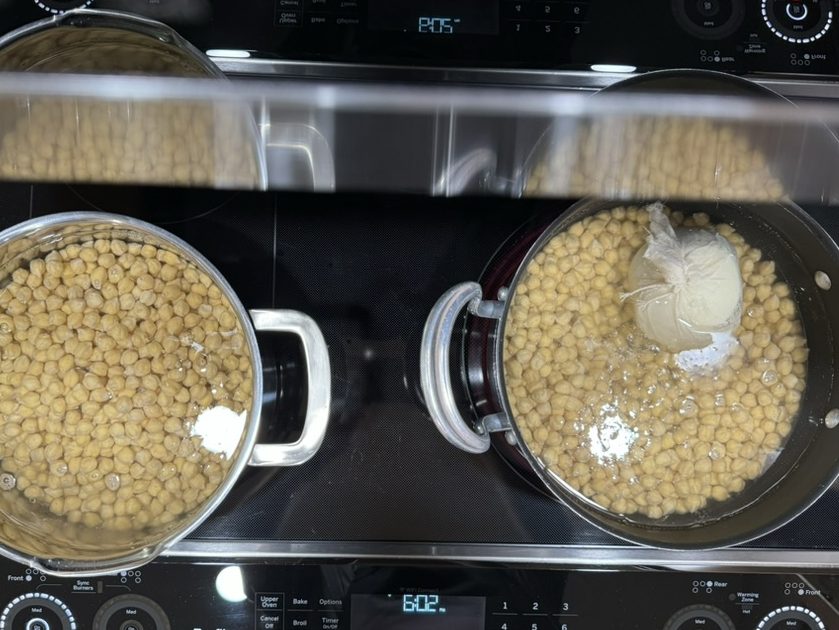
- Place the drained beans in the cooking container, and cover with water at least 1.5 inches above the beans.
- Optional: add 1/4-1/2 dry white onion (you can wrap it in cheesecloth if you want to be able to remove it easily at the end, because we usually do not keep the onion)
Regular Cooking
- Bring to a boil and then keep cooking on medium-low heat for ~2.5-3 hours (until ready).
- Tip: The time can be shortened to about 1.5-2 hours if you add 1/2 tsp of baking soda
- Scoop out any foam buildup during the cooking process
- If needed, add water to ensure the beans are covered at all times
- Cooking is finished when the beans are hard enough to keep their structure, yet can easily be squashed between your fingertips with very light pressure. If you can’t squash them, keep cooking, but if they do not resist, you probably overcooked them, so, well… you need to go back to step one… or crack open a can of store-bought beans… 🤔
Pressure Cooker
- Bring to a boil
- Scoop out any foam that forms during the boiling process
- Once water is boiling, reduce heat to medium heat
- Scoop any foam for the last time and lock the pressure cooker lid
- Cook for 25 minutes (make sure the pressure is built; if not, your temperature might be too low, so add a few more minutes)
- Once time is over, remove from heat (or turn off if using electric cooker) and let it cool down for at least 20 minutes before releasing the pressure, so that you don’t spray your kitchen with white foam (trust me, take your time).
- Tip: put a towel over the steam valve to reduce splatter (be careful as it will get wet and hot).
- Check if the beans are ready; if not, you can cook them a bit more for 5-7 minutes, and repeat the cooldown process.
Once cooked
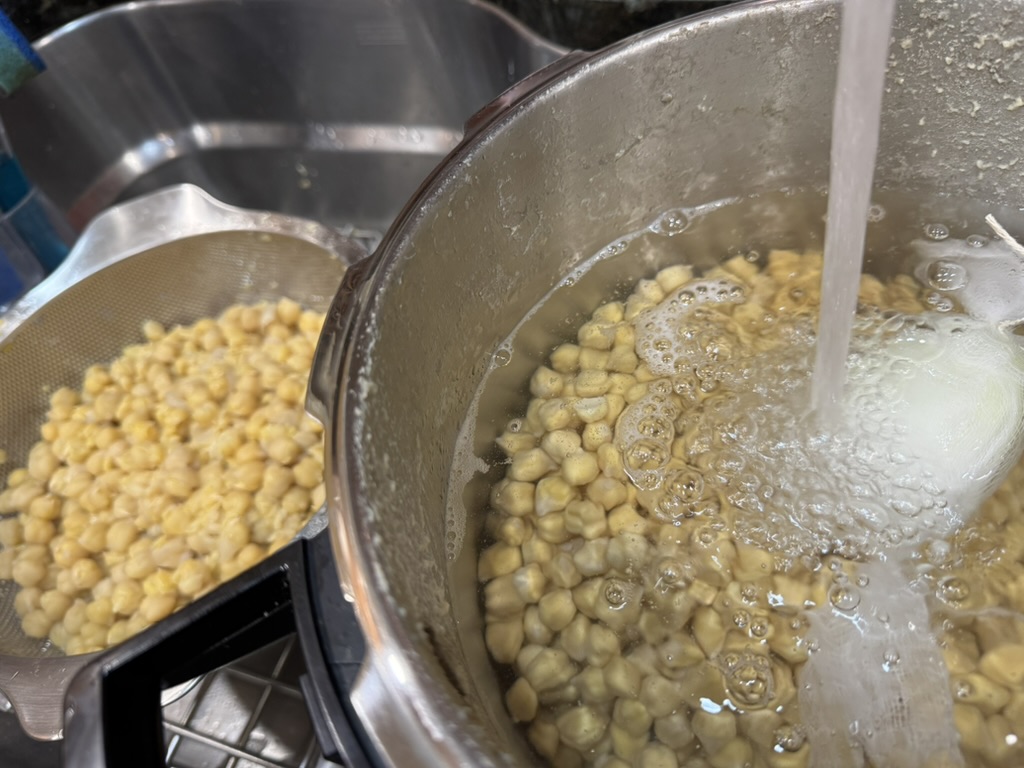
- If you added the onion, throw it away, and rinse the beans under cold water.
- Tip: Rinsing in cold water stops the cooking process and ensures your beans are not overcooked.
- Depending on the beans you used and the amount of baking soda, you might have shells floating around. I like to separate the shells from the beans. It is 💯 ok to keep them as is. See below for how. It’s all about your personal preference.
- Split the beans into portions of ~2lb (~950g) (~3-4 cups).
- If you cooked more than a single batch, I strongly recommend storing the remaining portions in vacuum-sealed bags, once cooled, and freezing them until the next time you need them.
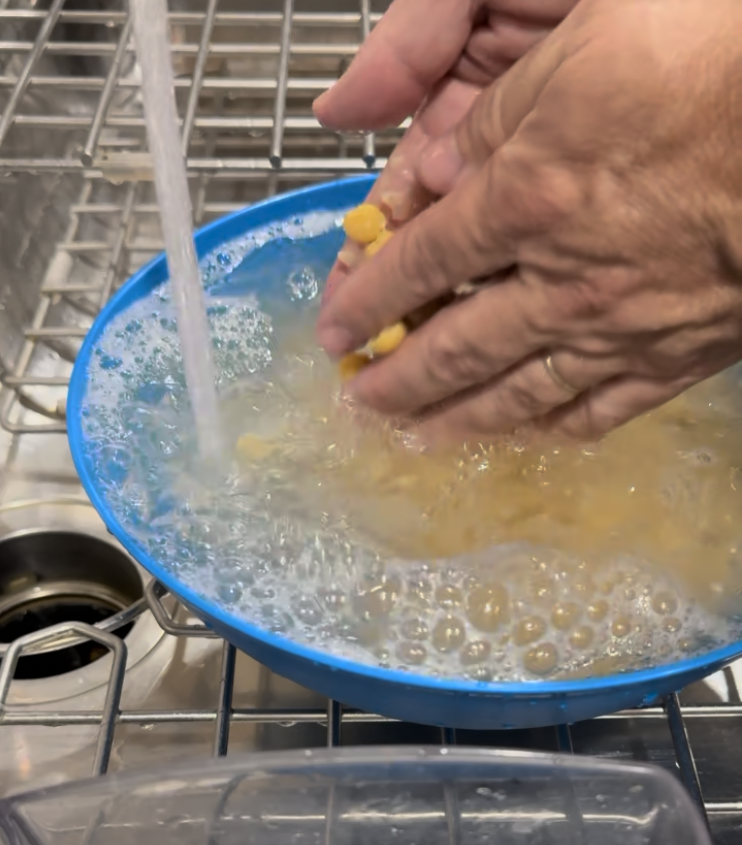
Optional: Separating the shells
- Drain the beans and place them under running cold water in your plastic bowl.
- With your (clean) hands, rub the beans between your palms to help the shells fall off the beans.
- Tilt the bowl to let the water with the floating shells fall off the edge of the bowl.
- Refill with cold water, and repeat 3-4 times until there are no more floating shells to clean.

Head out to my Hummus recipe to make it.